Snapmaker U1 review: four toolheads, open top
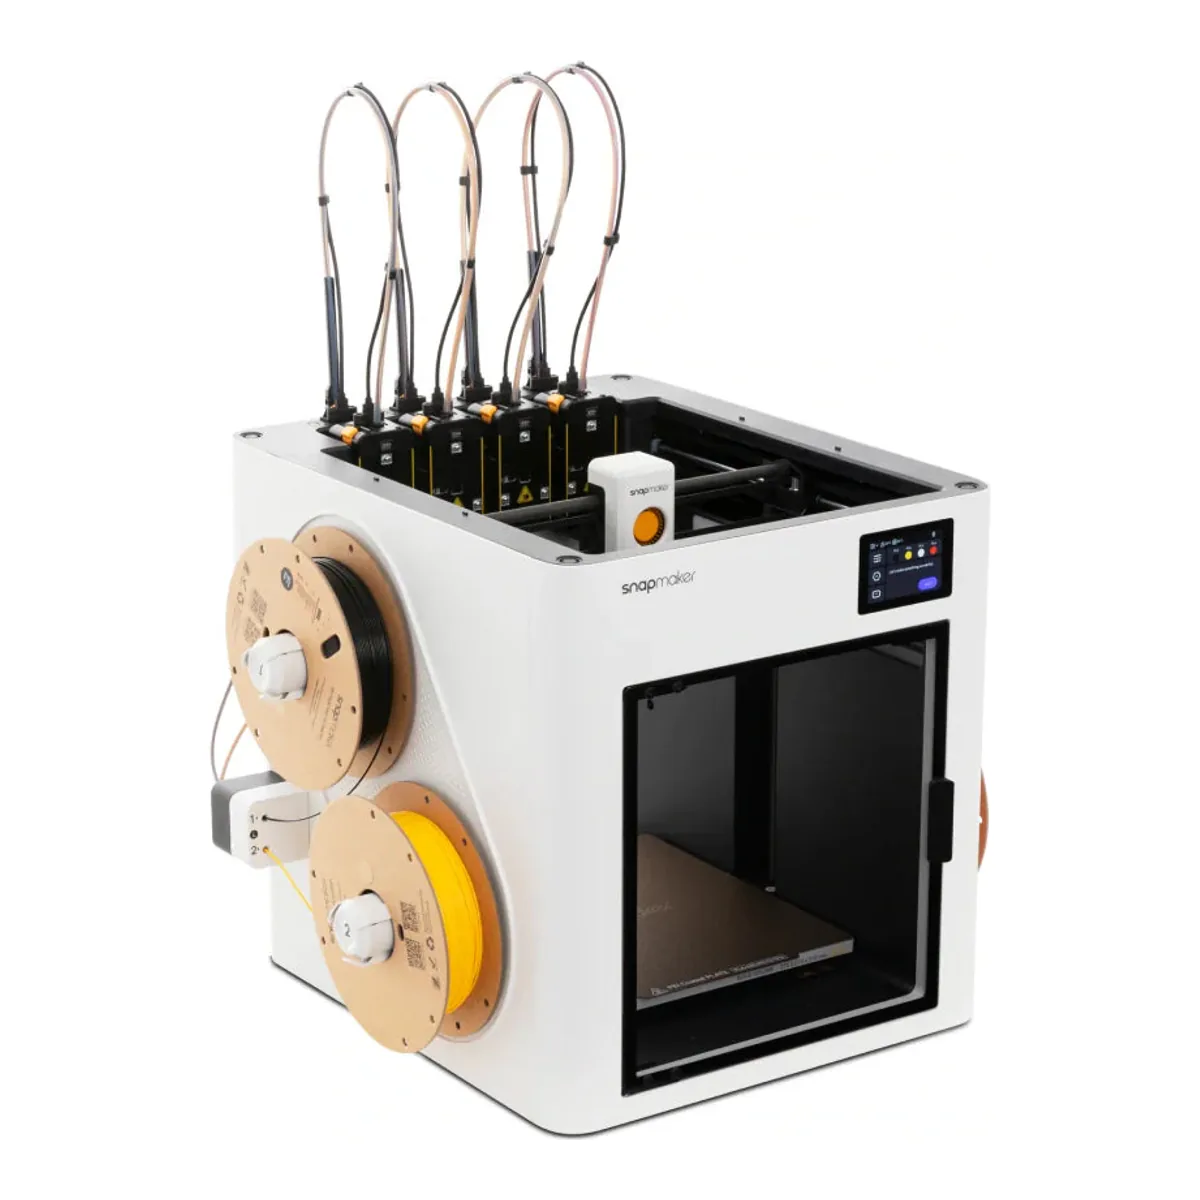
A 270 mm CoreXY toolchanger that prints up to four colors by parking complete toolheads instead of purging one nozzle, so a color change costs no purge, though a prime tower remains. Nine of 62 owners describe a fault on their machine, and the software trails Bambu Lab's. Skip it if you print ABS or ASA and will not add the Top Cover, or your models need a fifth color.
- Build volume 270 x 270 x 270 mm
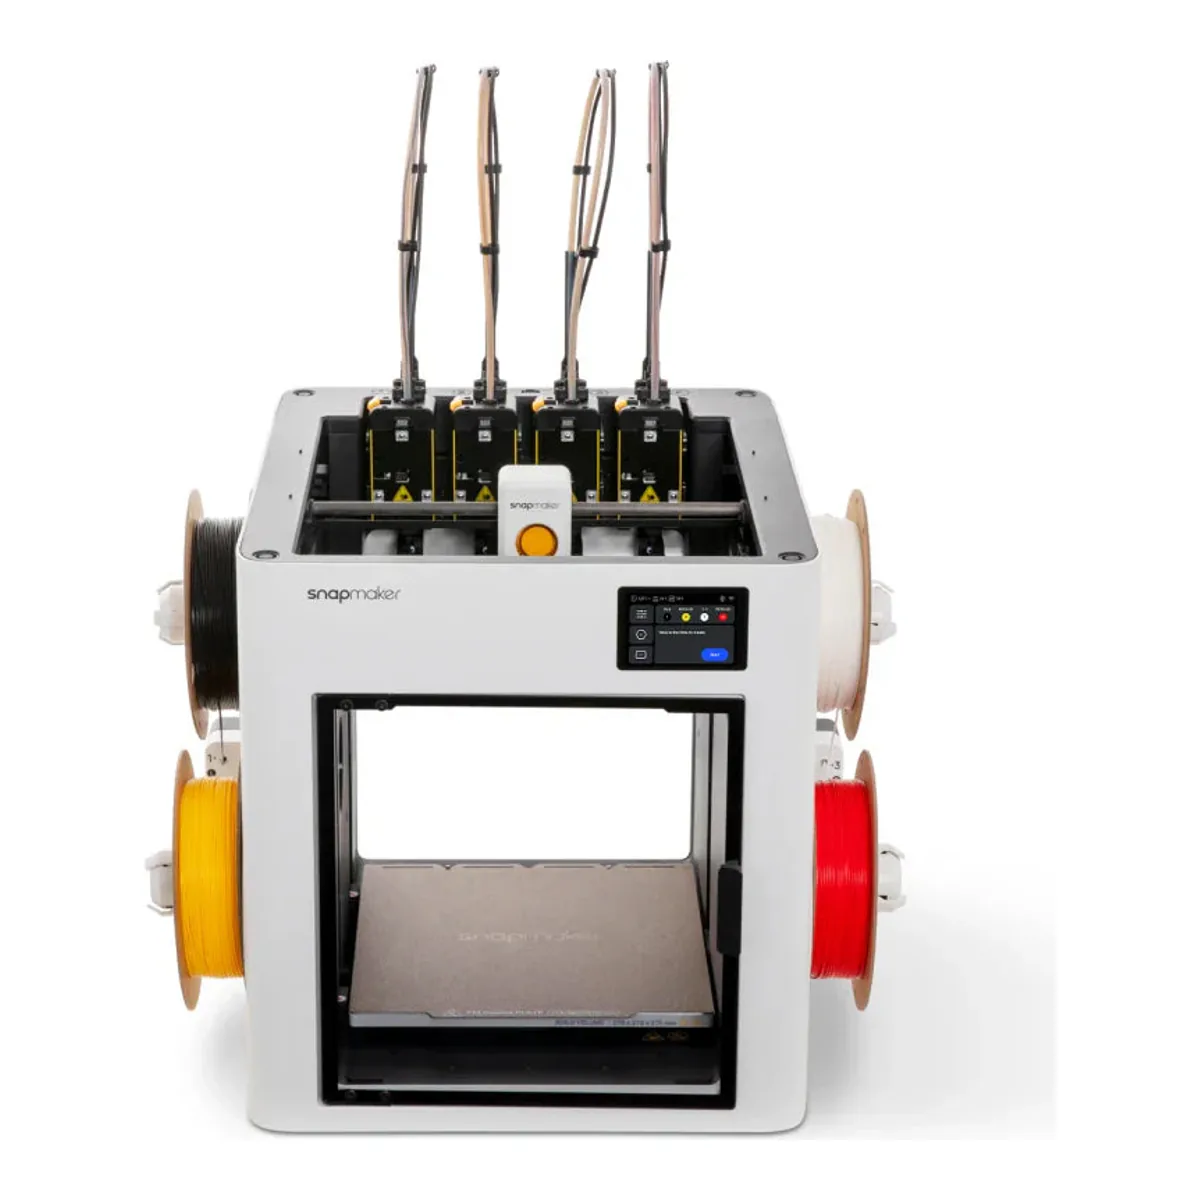
- Four toolheads included, one filament each, on a CoreXY frame
- Max nozzle temperature 300°C, 0.4 mm nozzle, direct drive
- Heated bed up to 100°C, flexible steel sheet with PEI
- Up to 85% less filament than shared-nozzle color switching, per Snapmaker
- Top Cover sold separately; it passively heats the chamber up to 50 °C
We earn a commission on qualifying purchases through the links here, at no cost to you. It never decides what makes the list.
Five seconds is Snapmaker's figure for a color change on the Snapmaker U1, and its own footnote calls that "a typical result from Snapmaker Lab tests". Tom's Hardware, timing a beta unit, found "it only takes the U1 about 10-12 seconds to change colors, while a Bambu Lab machine can take 90 seconds". Either number is fast. Speed is still the smaller half of the story.
The bigger half is waste. A single nozzle multicolor 3D printer has to flush the old color out of its hotend at every change, so a print with hundreds of changes turns part of each spool into purge. The U1 carries four complete toolheads, each loaded with its own filament, and parks one before it picks up the next. One owner ran back to back seven hour prints with more than 700 material changes and reports "only 35g of waste in the tower." The same profile on their Bambu Lab X1C, they write, took another day and 500g of purge.
So this Snapmaker U1 review is for the buyer weighing a toolchanger 3D printer against a Bambu Lab with an AMS. The U1 holds the multicolor slot on our 3D printer shortlist.
The evidence: 62 commenters who say they own a U1, read one at a time out of 796 comments under 21 YouTube videos, 13 of which name it (how we count). Alongside them sit hands-on reviews from Tom's Hardware, FauxHammer, TechRadar, 3Dnatives and Make:, Snapmaker's store spec sheet and wiki, and the live Amazon listing. Tom's Hardware and TechRadar tested early units, so read their software complaints as a snapshot.
Snapmaker U1 multi-material: four heads and a small tower
Four is the ceiling. Snapmaker's wiki says the U1 prints "up to 4 different colors in a single print", one per toolhead. There are workarounds and each costs something: one owner pauses mid-print to change a spool and admits it can leave a visible line, and FauxHammer notes that unloading pulls filament back out of the toolhead but not onto the reel. If your models want five or six colors, look elsewhere; one owner who loves theirs is already shopping for a machine with more heads.
The waste claim holds up with a qualifier. Snapmaker's lab puts the saving at up to 85% against printers that switch colors through a shared nozzle, and its total counts supports and the prime tower. The tower stays. Parked heads idle at around 70°C, and the wiki describes the tower as clearing the degraded filament that sits in a nozzle on standby. Tom's Hardware printed a plate of three-color figures with 90 color swaps three hours faster than on a Bambu Lab P1P, with only a 4-gram prime tower.
The tower is not always small. An owner who calls themself a new U1 user finished a 4-color model that used 65.12 grams of filament, with 23.47 grams of support and a tower of 119.15, and counts all of the tower as waste. Their complaint: "I don't get why people say the U1 has little waste and then discount the prime tower." Another owner's answer is that the default tower is sized for purging, and they cut its volume from 40 to 10 cubic millimeters. A third ran 300 hours before emptying the waste bin.
Build volume and assembly
A 270 mm cube of print space, the same on every axis, inside a frame that measures 584 by 499 by 730 mm and weighs 18.2 kg. It arrives in parts. Snapmaker's wiki budgets about 120 minutes from unboxing to the first print, 40 of them for assembly, and 3Dnatives puts the build itself at between 30 and 45 minutes for an experienced user. Make: found the plastic panels "a bit too thin and flexible", with joints that popped out and pushed back in. A newcomer among the owners had no trouble with setup and says the learning curve came later, with materials.
Motion system and calibration
CoreXY, with a carbon-fiber X axis. Snapmaker rates the toolhead at 500mm/s and 20,000 mm/s² of acceleration, while TechRadar reads the same machine as print speeds of up to 300 mm/s with 500 mm/s reserved for travel. The time TechRadar actually saved came from the swaps: at least a doubling in speed on multifilament prints, and possibly tripling on complex ones.
Alignment between heads is automatic. An eddy current sensor sets the offsets, Snapmaker claims relative positioning within 0.04 mm measured with clean nozzles, and Make: describes the routine aligning all four nozzles in X, Y and Z. Tom's Hardware found calibrating the tool heads "completely hands-free". If there is a catch, TechRadar names it: run bed leveling before every multifilament print.
Hotend and max temp: 300°C, replaced whole
Each of the four direct drive heads runs to 300°C on a 0.4 mm stainless steel nozzle. The heat sink, heat break, heater block and nozzle form one integrated unit that cannot be replaced piece by piece, so a worn nozzle means a new hotend. FauxHammer calls nozzle replacement "not quick-swap". The box carries one spare hotend, and hardened steel hotends are sold separately.
That matters for abrasives. Tom's Hardware says the stock nozzle handles them fine. Snapmaker's own material list puts carbon and glass filled filaments only on a U1 with both the Top Cover and a hardened steel nozzle, and the maker's list wins.
TPU went well for three of four testers, within a limit: Snapmaker supports TPU of 90A Shore hardness and up, and FauxHammer's softer 85A needed feeding into the toolhead by hand. Tom's Hardware fed soft TPU automatically with no issue. FauxHammer printed it "surprisingly well" after some tuning. TechRadar says what it pushed through "printed absolutely perfectly". 3Dnatives is the exception, with recurring clogs and under-extrusion.
Heated bed max: 100°C
A flexible steel sheet with a textured PEI surface, heated to 100°C. Owners split on adhesion: one never got good grip from the stock sheet however often they cleaned it, and another reports no adhesion trouble at all. A third swapped in a third-party plate and likes how cleanly PETG releases from it once the bed cools.
Enclosed: side panels, a door, no lid
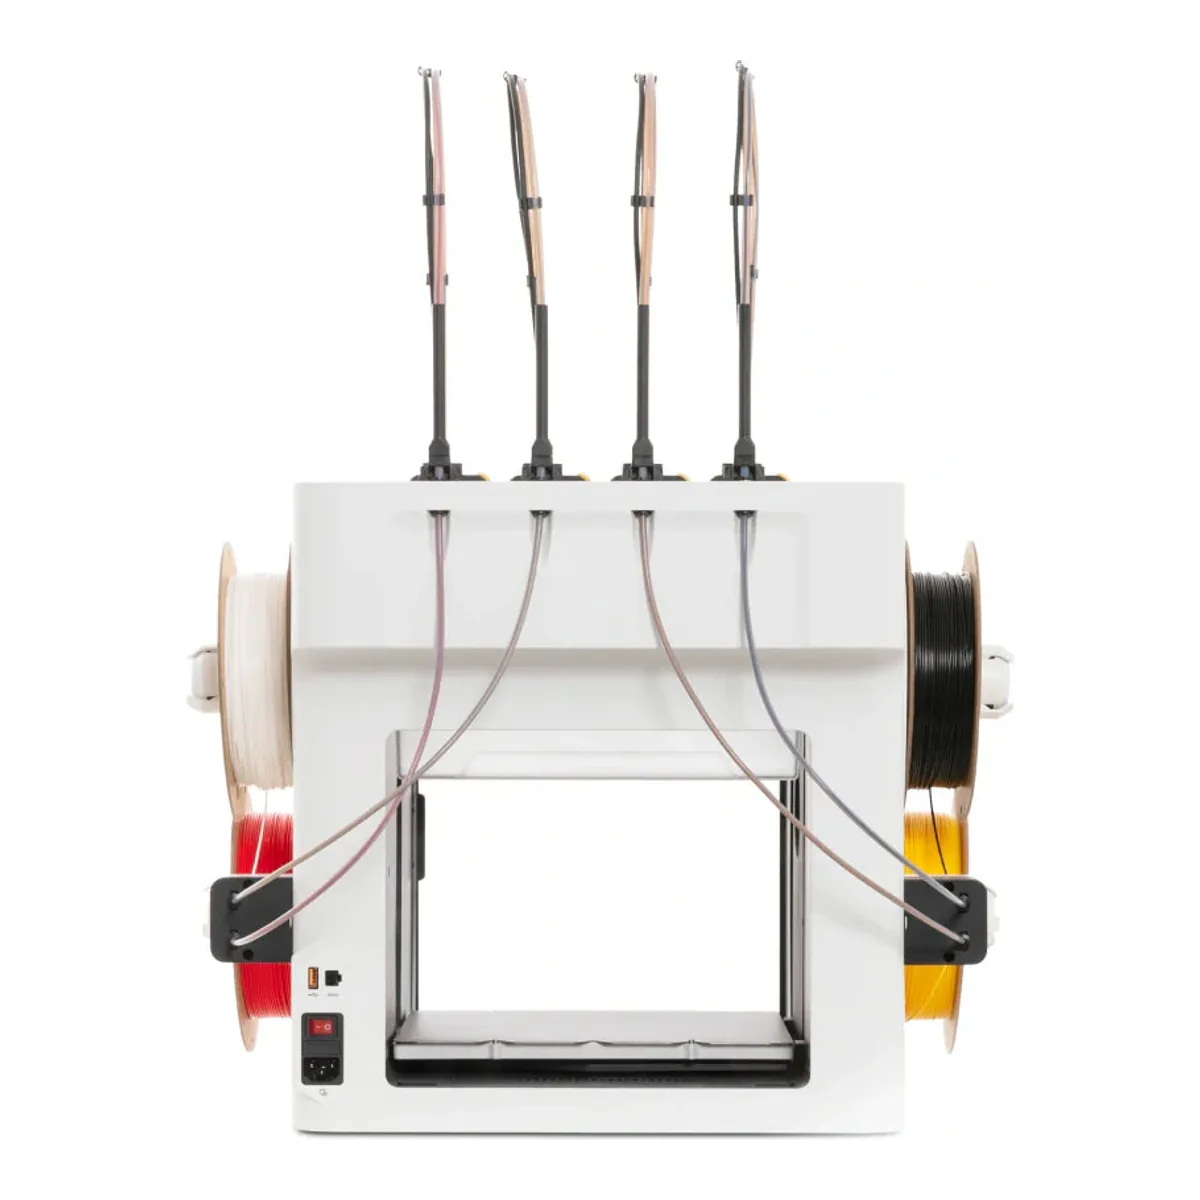
Partly, and the open top is what the multicolor design costs. The stock U1 has inner and outer side panels, a front door and a rear cover; TechRadar notes that the multi-tool design is why the top is open. The Snapmaker U1 Top Cover is sold separately. Snapmaker says it passively heats the chamber up to 50 °C, and in Snapmaker's lab, in internal circulation mode with its fan at 60%, it measured under 50 dB at one meter. Tom's Hardware found no active heating on its beta unit, and FauxHammer says the cover does not add an active chamber heater either.
Without the cover, Snapmaker's basic material list is PLA, PETG, TPU, PVA and PCTG. With it, PET, ABS, ASA, PA and PC join, per the store spec table and the wiki; TechRadar reads that tier more narrowly, keeping PA and PC for the hardened nozzle.
Tom's Hardware still printed ASA without the lid, and owners improvise: one prints ABS and PETG under an IKEA box, and another says ABS and ASA are flawless under a printed top hat. One owner in an unheated Boston room fights PETG warping and bed adhesion, never a problem on their lidded Creality K1, and suspects the missing cover. Three owners describe adding fans to cool the stepper drivers on the mainboard. One of them, who also fits a partition to keep chamber heat off the drivers and runs a Panda Breath chamber heater, calls the U1 "a great ASA/ABS printer."
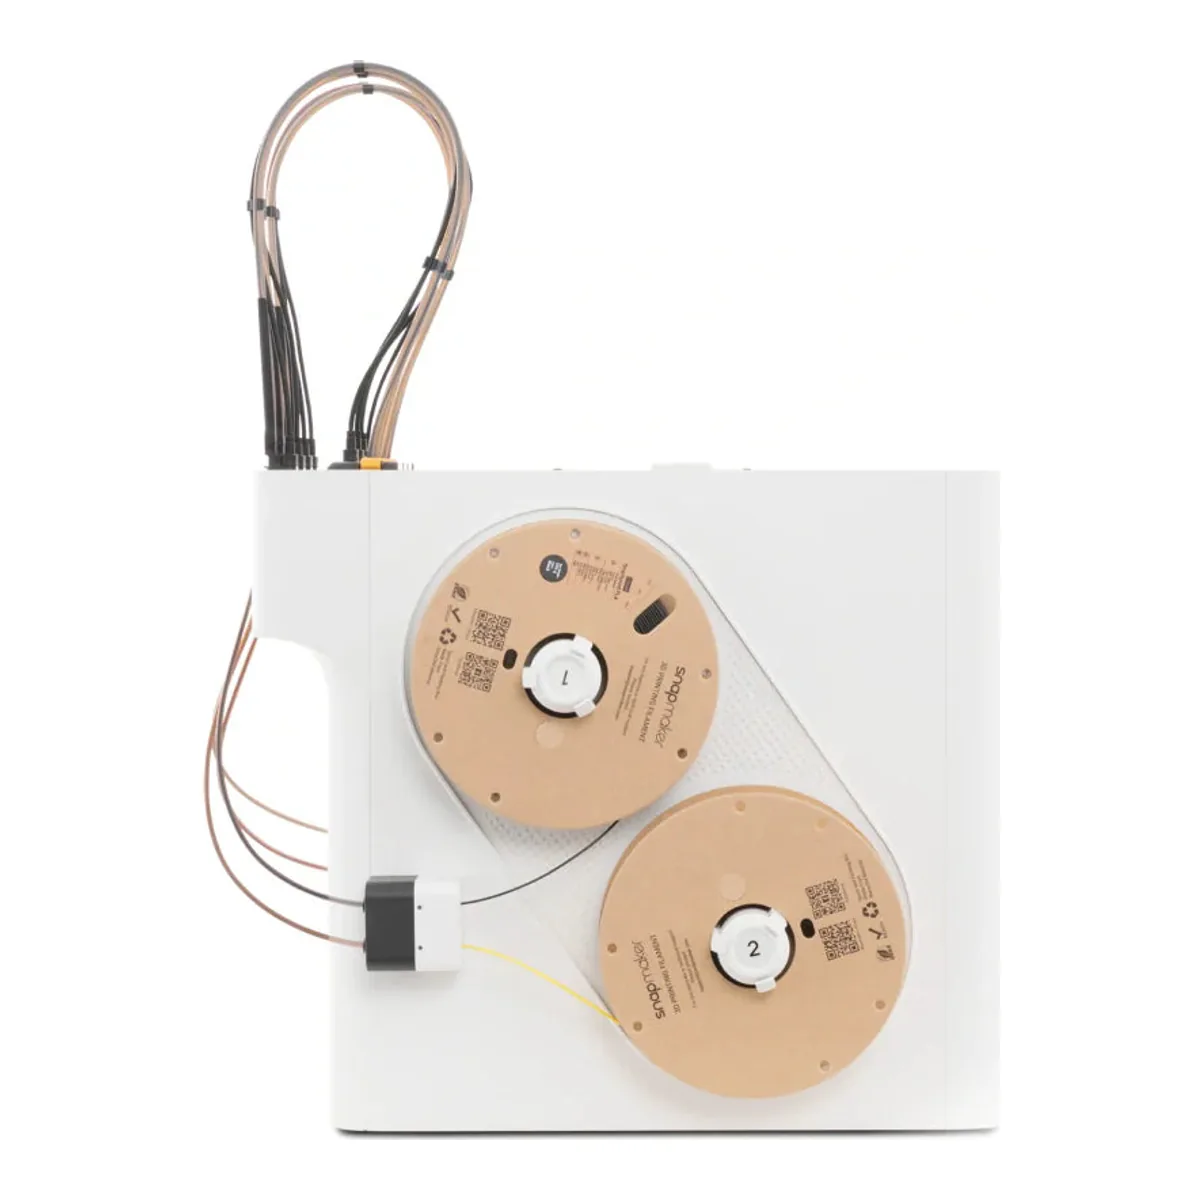
The spools hang in the open on the sides. One owner names it as the downside: "No good way to have a dryer connected." Snapmaker recommends its SnapDryer add-on for keeping loaded filament dry, but its wiki says a tube from the SnapDryer straight to the feeder is still being evaluated, and RFID recognition does not work when printing from it.
Snapmaker U1 problems owners report
Nine of the 62 describe a fault on their own machine. The worst got about 30 hours out of the printer before a runout sensor failure led to a clog. Inside the toolhead they found a loose spring and washer, spent 12 hours failing to reassemble it, and broke fragile plastic parts on the way; the printer has been down for almost a month. Another hit toolhead parking problems that blocked the first calibration, and support walked them through it. A third reports layer offset and resonance. An owner at 900 hours and three months now gets wavy layers once a print passes an inch or two, and prints at 50% speed, which is starting to show the same.
The other five are quieter but they add up. One blames pogo pins for the cooling fan, with constant issues support has not resolved, and says the extruder gears on every one of their toolheads, a spare included, often jam open. One got calibration errors at setup, intermittent homing trouble and a toolhead that often fails to autoload. One gets print head jams too often and reports that the replacement parts they need are out of stock. One gave up on the prime tower after it kept failing and a third layer shift. The ninth, at 900 hours, had first layer trouble on one firmware release that the next one fixed.
Set against that, one owner reports about 2000 hours on their first U1 and has a third on order. Two more run a pair, and one of them calls both reliable enough to use instead of a Prusa XL.
The software is the weaker half. FauxHammer hit repeated logouts, sluggishness and crashes in the slicer and app, and 3Dnatives says the mobile app "lags significantly behind the Bambu Lab ecosystem". Among owners, one has trouble reconnecting after the printer sleeps, one finds Snapmaker's Orca build buggy and slices in stock OrcaSlicer, and one notes that stock Orca connects in LAN only mode.
Noise splits the testers. Snapmaker's own figure is 55 dB at one meter at normal speed for the machine without its cover. 3Dnatives calls the cooling fan "particularly loud at high speeds". TechRadar found it far quieter than some other multifilament machines. An owner coming from a Bambu Lab A1 says: "It’s a lot louder than my A1."
Who should skip the U1
Skip it if you print ABS or ASA and do not want to add the Top Cover, if a fifth color matters, or if the printer will share a room with you, without the Top Cover, while it runs. For one color at a time in an enclosed box, the Bambu Lab P2S Combo is the safer buy, inside the app ecosystem 3Dnatives holds the U1 up against.
A held, heated chamber for nylon and big ASA parts is a different machine again, and the QIDI Max4 is the machine on our shelf that heats its own.
Care and wear on four hotends
Count swaps, not hours. Snapmaker rates the swapper for 1,000,000 swaps and the pogo pins on each head for 250,000, shows the running count on the touchscreen, and asks you to clean the gold contacts every 100,000. When the pins do wear, the fix is a replacement board on the toolhead or the swapper, which the wiki says takes less than 5 minutes. Keep the spare hotend for the head you run most.
Dry anything brittle before it goes on a side holder. An owner whose extruder kept clogging traced it to filament that snapped into small pieces inside the head, and getting them out meant taking it apart. Tom's Hardware had a brittle strand break inside one of the wide tubes, with room for a second strand to feed alongside it.
A closer look at the Snapmaker U1
Made up your mind?